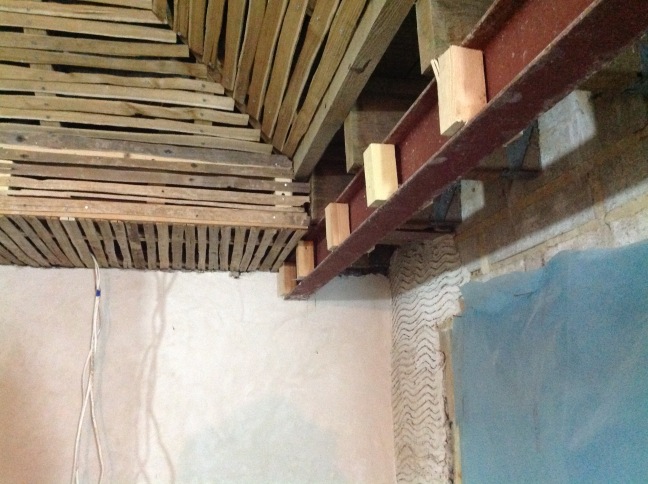
Our original wooden beams were replaced by rolled steel joists. Our curator, Nick, wanted to restore the rest of the ceiling using traditional lath and plaster. This left us with the problem of what to do with those steel joists. Nick decided to fireproof them with plasterboard and then cover them with plaster. Later they would be painted to look like wooden beams.

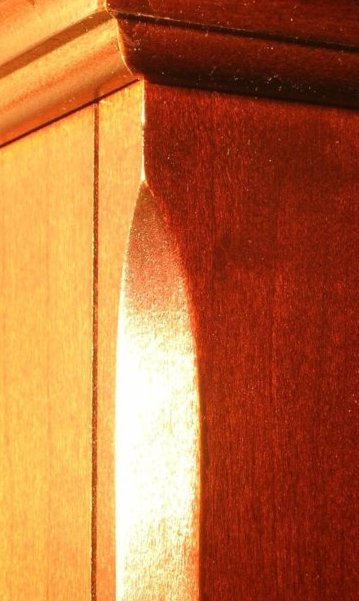
The next stage is complicated to explain but I’ll have a go. Our curator wanted a chamfered edge to the beam when it was finished.
To the left is an example of a chamfered edge in wood. This is what our curator wanted us to create in plaster.
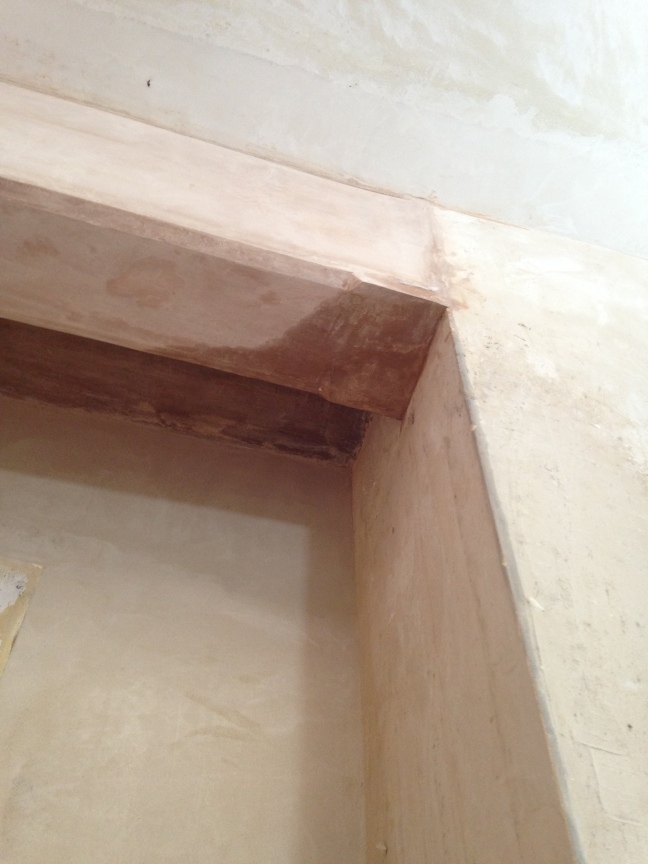
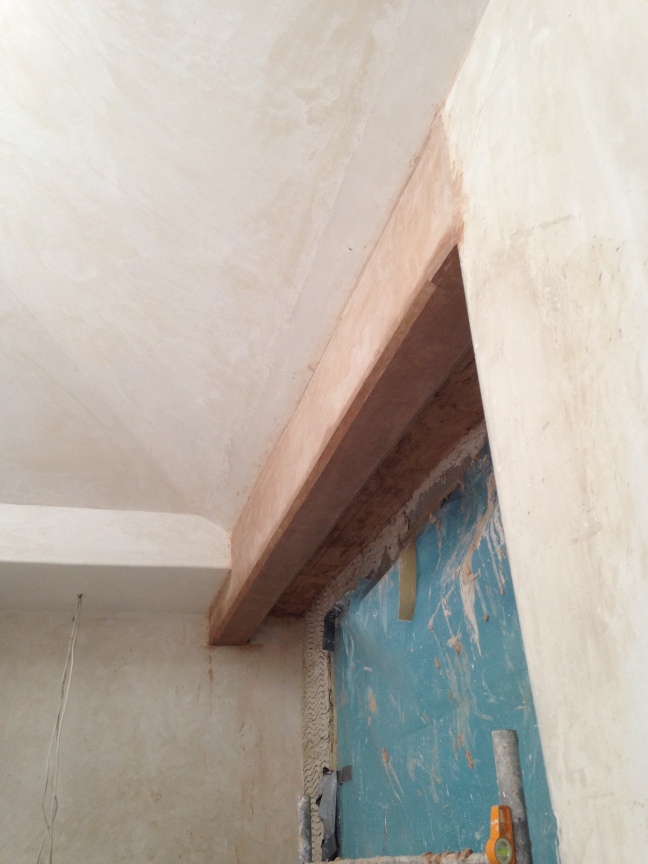
We would create a chamfered edge on the plasterboard covered beam first. Then we would plaster up to it.
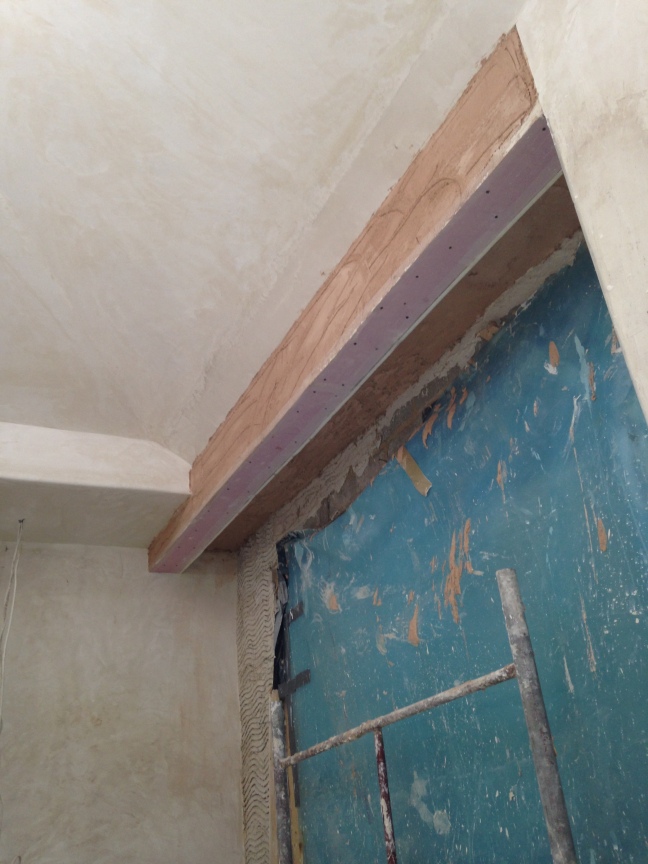
The four pictures below show how the chamfered edge was created by installing two long pieces of wood set at angles to each other, leaving a gap between them. The gap was filled with plaster to form the chamfered edge. The wood was removed leaving the plaster chamfer.


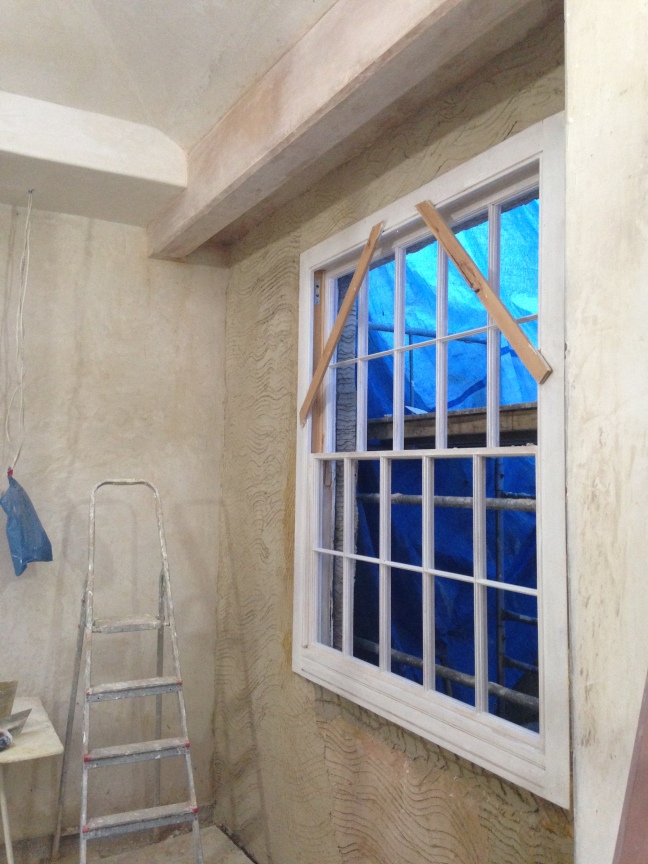
The beam was completed in July. The illusion of a wooden beam will be completed when the beam is painted. The colour choice for paint has yet to be decided. Maybe this is lucky because a leak has started to threaten our beam.